Hotspots let you make your images come alive by placing clickable spots that reveal additional information when learners interact with them.
With this block, you can turn simple images into guided, interactive lessons that increase engagement and understanding.
With this block, you can:
- Highlight key parts of an image, diagram, or interface.
- Add pop-up explanations, images, or videos for each point.
- Turn images into clickable learning tools without coding.
💡 Examples: Show learners how your app dashboard works, label the parts of a human brain, or create an interactive product demo, all within your course.
How to Add Image Hotspots #
Add the block #
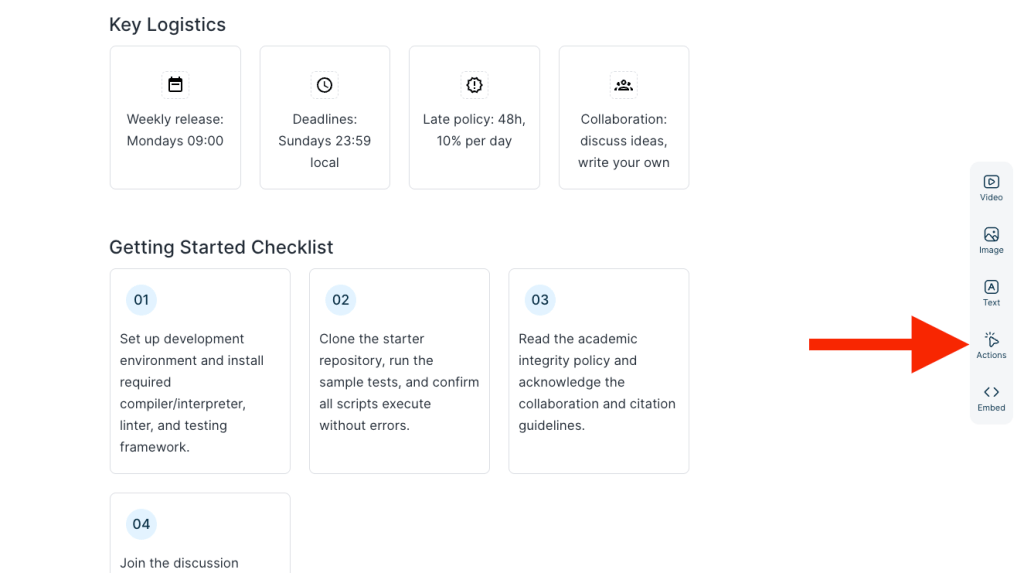
In the right drag-and-drop menu and click Actions.
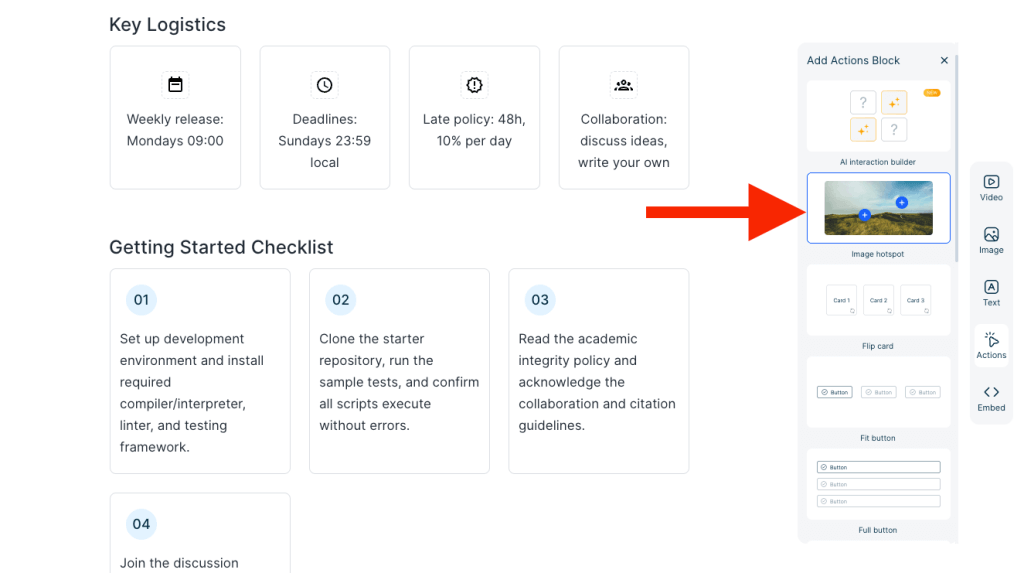
Find Image Hotspot block and drag it into your page, or double-click it.
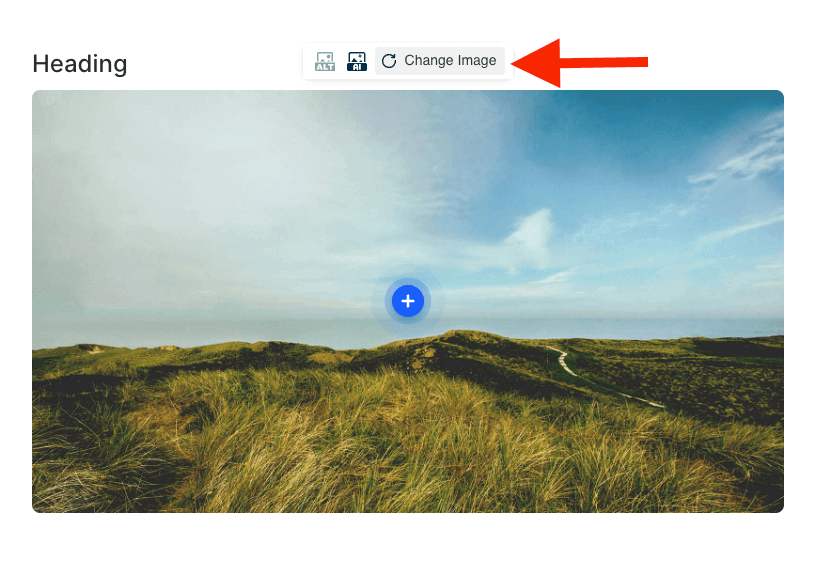
Change Image #
You can change the image by clicking itself, then selecting Change Image.
Add more hotspots #
There is one hotspot on the image by default.
You can double-click anywhere on the image to create a new hotspot or click the ‘+’ icon on the top-left corner of the image to add one.

You can drag any hotspot to reposition it anywhere on the image.
Edit hotspot content #
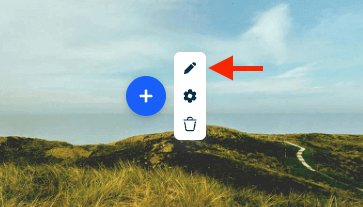
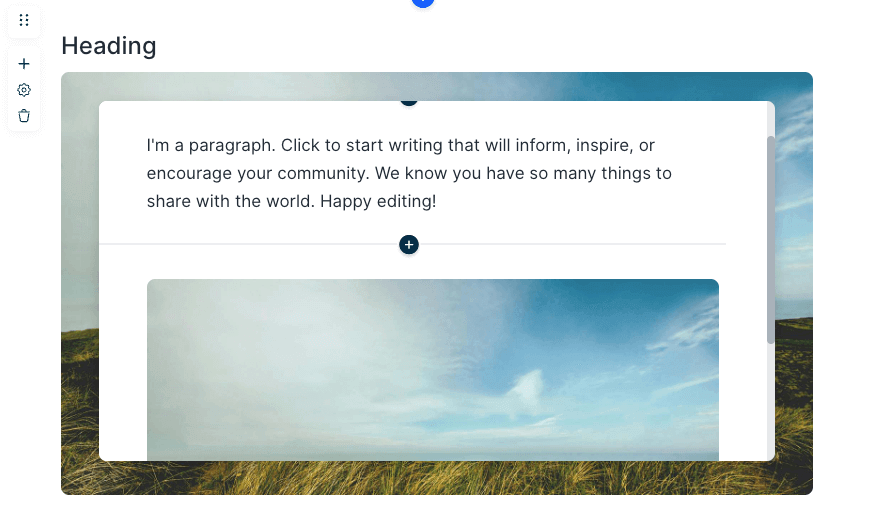
You can edit the content of hotspot by hovering over a hotspot and click the pencil icon.
This will open a pop up that works exactly like your course page editor. You can add text, images, buttons, or even interactive blocks inside it.
Customize hotspots #
You can customize hotspots by hovering it and clicking the settings icon.
The things you can change:
- Hotspot background color
- Icon color
- Icon type
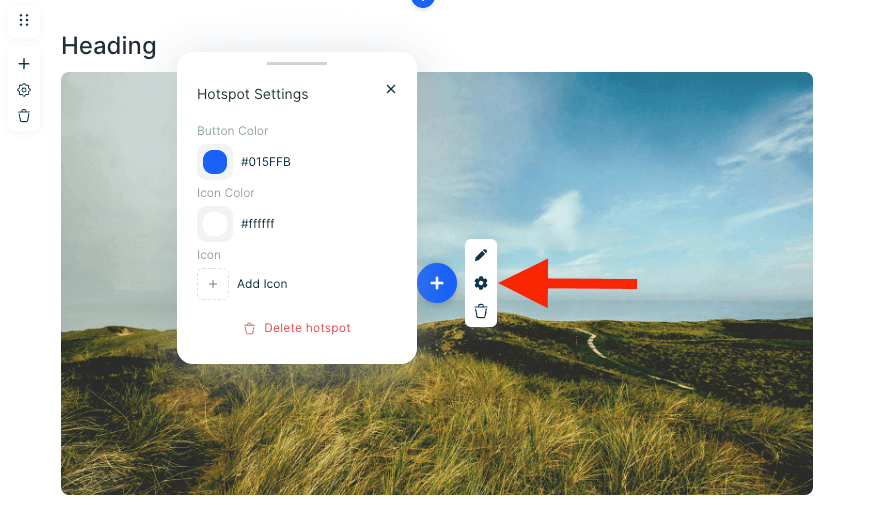
Delete a hotspot #
Hover over the hotspot and click the trash icon to remove it.
❓Please reach out us via support@minicoursegenerator.com in the bottom right corner of your screen if you have any question about Image hotspot.


